Home Blog Page 6

Can You Sit on a Stand Up Paddle Board?

0

Whether you are a paddling expert or just a beginner, there are lots of questions one asks about what to do. When it comes to the questions concerning the minds of most paddling enthusiasts, you will always come across a common one which is can you sit on a stand-up paddleboard?

When we speak about SUP experience, most people know it as a “standing up in the water” activity, maybe because of the term ‘stand up’ that comes with it or maybe they haven’t tried other options. The beauty of every sporting activity is to investigate other ways to make it more fun. Speaking of adding fun to sports, there are reasons for the question of whether can you sit on a stand-up paddleboard:

Taking Pictures

When you are SUPing, it is not just about adventure in water but also about the areas that you are able to reach while on your paddling board. Some of the areas completely hidden by ocean water display the beauty nature gives, yet reaching them isn’t an available option. Luckily, paddling to the deep sea can take you closer to isolated areas where you can take beautiful pictures of animals, birds, and plants that you hardly see around. This can be the reason you can sit on a stand-up paddleboard.

Resting Your Legs

Paddling can get tiresome, especially when you decide to explore a long distance in the water. While most people prefer standing up, it becomes less fun if you get out from the shore entirely exhausted. For this reason, resting your legs from too long standing becomes a reason you can sit on a stand-up paddleboard. Additionally, sitting on a stand-up paddleboard recharges your paddling energy, especially when you are planning to catch a wave afterward.

Riding with Others

When you consider paddling as a family or friend’s way of exploring nature together or you decide to go along with your pet there is a huge possibility of stability interference if all of you are standing. This becomes a reason you can sit on a stand-up paddleboard.

On the other hand, when you are paddling along with others you might decide to share some stories or make some jokes while enjoying the in-water experience and so on. Sharing stories while standing is not always the best way for you to pay attention to what is said. Considering this reason it can be what brings about the answer to can you sit on a stand-up paddleboard?

Eating or Drinking in Water

You can agree with me that paddling, just like any other water sport activity, tends to make you hungry faster than many other activities. If you’ve paddled for a long distance or you ride with kids, there is always a time hunger will demand attention. Drinking and eating while standing is always discouraged because it leads to choking or even worse effects. This, therefore, becomes a reason you can sit on a stand-up paddleboard.

Be Safe and Enjoy the Ride

All in all, the most important thing is your safety while riding on a SUP. Whether you sit or stand, make sure you’re not putting yourself or anyone else around you at risk. Be sure to check out our other articles on SUPs to learn more about these fantastic paddleboards.
5 Best Kneeboards for Beginners in 2021

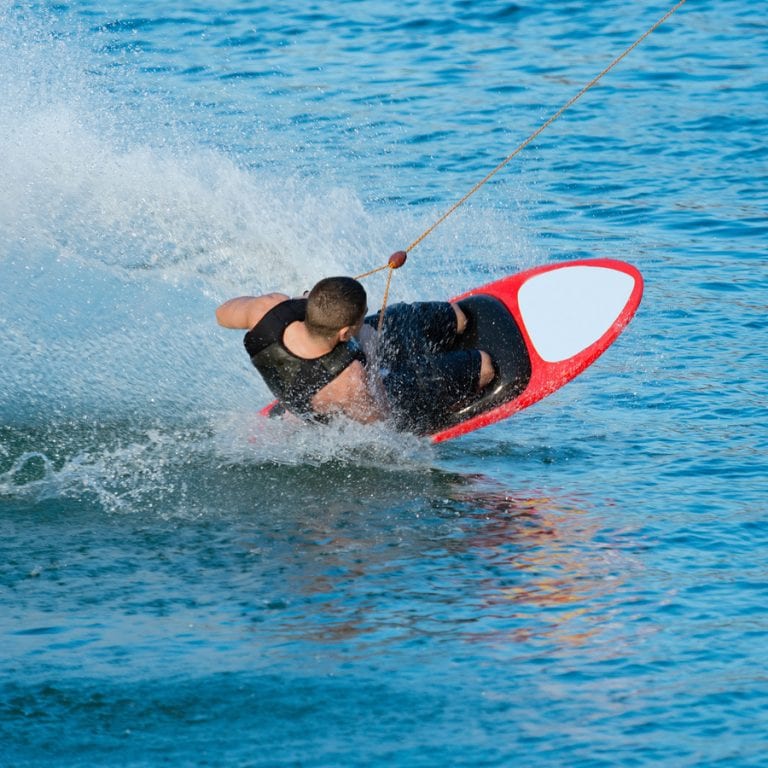
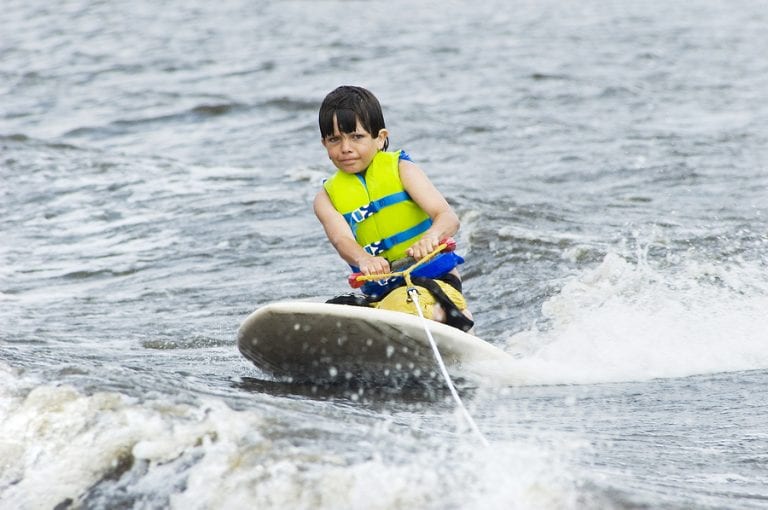
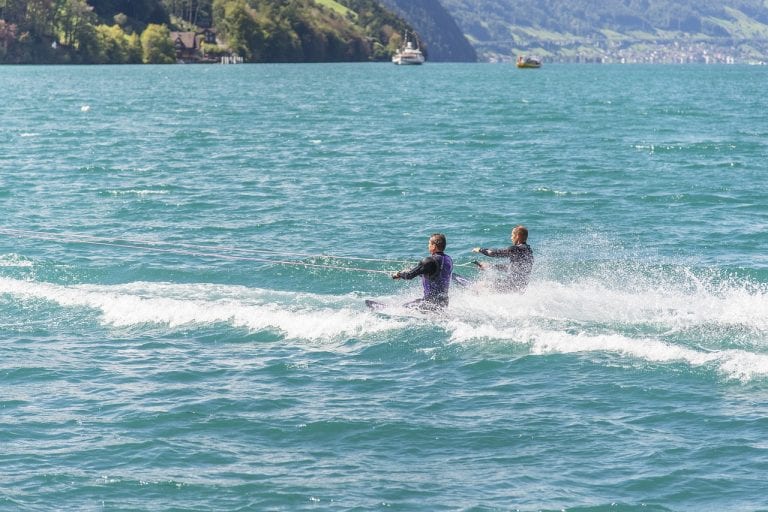
Kneeboarding is a fantastic water sport to participate in like wakeboarding, and just like the name describes it involves you riding on a board while on your knees.

However, there are plenty of kneeboards out there to choose from, and if you’re a beginner to kneeboarding it can be especially confusing on what you should pick.

To help you find the best kneeboard for beginners, we’ve compiled our list of the top 5 best picks on the market.

Let’s dive right into our list!

[amazon table=”1435″]

Best Beginner Kneeboard Reviews

Here’s our list of the best kneeboard for beginners on the market:

1. SereneLife Water Sport Kneeboard with Hook

[amazon box=”B0725Q7CKH”]

At just shy of 9 lbs in weight, it is entirely light and is smaller enough to fit in your vehicle or vessel.

All the more critically, it is likewise strong gratitude to the consumption and marine evaluation parts, for example, strengthened polyurethane utilized in its production.

The SerenLife Water Sport Kneeboard additionally accompanies an adjustable tie to protect you during your undertakings on the water and furthermore highlights padded kneeboards for an additional pinch of solace.

To the extent style go, it doesn’t do excessively severely either with its energetic, restless white and dark designed themes against a dark background.

Pros

  • Lightweight and compact
  • Adjustable strap
  • Cushioned kneepads

Cons

  • Take-offs are difficult

2. O’Brien Voodoo Kneeboard with Hook

[amazon box=”B00NTLDANG”]

One ride and the O’Brien Voodoo will have you powerless to resist it…

With execution edges and a position of safety cross area, the O’Brien Voodoo joins hard-charging edging and an easy-going ride.

Quad shaped blades at each edge of the frame give following additional control, and the bent underside makes edge advances speedy and smooth.

The 3/4″ thick cushion provides extravagant solace for your knees, and the cushioned tie secures you for greatest control.

Pros

  • Great knee padding
  • Lightweight and durable
  • Incredible for beginners

Cons

  • The design could have been better

3. O’Brien Radica Kneeboard with Hook

[amazon box=”B00NZ3NO3E”]

The O’Brien Radica Kneeboard shares highlights with the voodoo on a littler scale, wakeboard styled quad, measured formed balances make edging and cutting a breeze while permitting release for turn type stunts.

It is an extraordinary board for the amateur to the average rider.

This kneeboard has very profound EVA kneepads for lower focal gravity providing rich solace for your knees and cushioned wide lash to hold you in tight.

On the off chance that you need or merely decent and free if you need a smidgen of help, or even evacuate the tie totally for riders without the certainty to get up to max throttle.

This has packs of solidness from the roto-shaped development – and with a solid base for better coast.

The water-ski impacted edge slope enables the board to sit low in the water for strength and enables the fast edge to edge changes when cutting.

Pros

  • Quad molded fins
  • Integrated hook
  • Adjustable strap

Cons

  • None so far

4. CWB Connelly Mirage Kneeboard, 53″ with Hands-Free Handle Hook

[amazon box=”B07NVWHP71″]

With regards to knee-boarding, the nature of the board at use is of high significance since the whole movement and security depend on a tied board, particularly when you’re skiing at high speeds with numerous inadvertent dangers included.

In the interim, the 52-inch length is all that could possibly be needed for the tallest of clients to utilize efficiently without the smallest piece of mispositions.

Pros

  • Pretty spacious
  • Adjustable strap
  • Comfortable padding

Cons

  • Expensive

5. O’Brien Black Magic Kneeboard

[amazon box=”B075TK3KZM”]

Brand names like the O’Brien Black Magic kneeboard is one of the boards that you can discover in the market, and it has its very own particulars that are special to it.

The latest model refines the best viewpoints and watches out for some worries, for example, quality, solace, and toughness making one astonishing execution kneeboard.

The individuals who have tried it have exceptionally appraised it on account of its quality and execution. However, it will cost you a fortune.

Pros

  • Lightweight and compact
  • The adjustable hook is padded
  • Incredibly durable

Cons

  • The design could have been better

Conclusion

So, these were some of the best beginner kneeboards.

We hope the above list helped you in picking the best kneeboard for your use.

Keep one thing in mind, if you are a beginner, start with a lower-priced kneeboard.

You can always buy a newer one if you feel the current one is of no use to you.

How to Jump the Wake on a Kneeboard

If you’ve been getting into kneeboarding and are trying to learn different tricks, it’s definitely time to take a look at how to jump the wake on a kneeboard.

You’re definitely going to want to learn how to jump the wake, because this is one of the quickest and easiest kneeboard tricks that you can pick up, so let’s take a look.

How to Jump the Wake on a Kneeboard

It’s actually a whole lot of fun and you’re going to have the ability to try out new things and really be unique about it too.

1. Set Up Your Kneeboard

Set up your kneeboard as you would normally to ride. You want to make sure that you have the right amount of slack but not too much. Make sure you have your board securely attached as well.

2. Wait for the Wake

Wait until you have a few feet between you and the wake. This is the period where you’re going to need to start making your moves to actually make the jump.

3. Turn Toward the Wake

Turn toward the direction of the wake but make sure that you still stay out wide. You want to have a bit of distance to keep the line just right and you also want to make sure that you still hold out from the boat.

4. Let the Boat Pull You Into the Wake

Allow the boat to pull you into where the wake actually is. You want your knees to be bent to make sure that you’re going to have the right balance when you actually get there to make your jump.

5. Keep Your Rope Tight, Knees Bent and Arms Straight

Keep your rope tight and make sure that while your knees are bent you still have your arms completely straight. Bending them takes away from the power that you’re going to need.

6. Edge Away from the Boat

Start to edge away from the boat by digging the back of your board into the water. This is going to give you just the right edge when you’re working on your jump.

7. Hold the Handle Tightly Keeping Your Speed

Hold the handle of your tow rope as tightly as you can and make sure that you keep your speed going. You want to make sure that you’re fully prepared for the wake when you hit it.

8. Straighten Your Legs as You Hit the Wake

Straighten out your legs as you hit the wake. This is where you’re going to get some air and it’s also where you’re going to have a whole lot of time to do something really fun.

9. Perform Your Trick

Take advantage of the time you spend in the air and make sure that you try out some really fun tricks while you’re at it.

10. Keep Practicing!

As you spend some time working on the process of jumping the wake, you’re going to learn how to perfect the process.

Not only that, but you’re going to have a whole lot of fun learning how to do different tricks and make the most of the time that you spend in the air.

It’s all about practice and when you take the time to try it out, again and again, you’re definitely not going to have a problem jumping the wake (and maybe even showing off a little).

5 Things That Attract Sharks

0

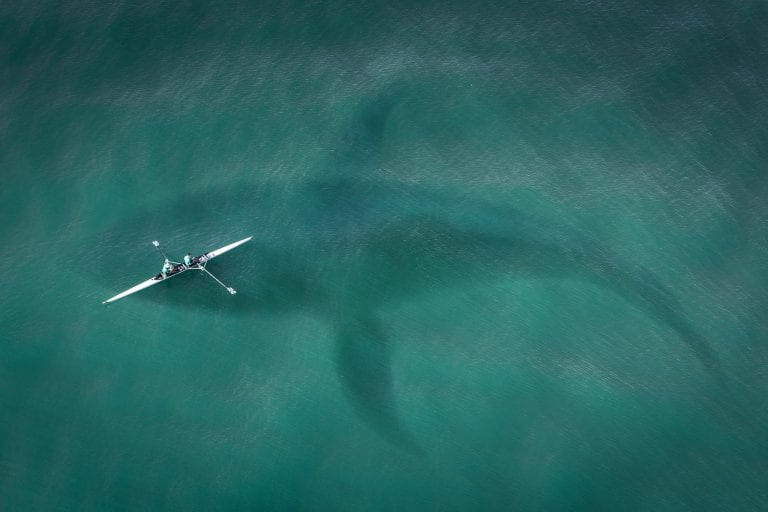
If you have been very watchful about sea animals, you already know that sharks are the most recent sea creatures to come out from the depths and closer to shores. Maybe they like to make people see them or maybe there are other reasons why they are attracted to the surface.

If you closely watch the times that sharks like to come out of the deeper water you’ll realize that dawn and dusk top the most frequent times for sharks to show up. The early sun tends to attract sharks as they come near the surface to feel its heat, while the evening sun going down helps them cool from the heat they have experienced throughout the day. The combination of one of the five attractions and the perfect timing could be the recipe for disaster.

The idea for this article is to help you understand the five things that attract sharks. It is to keep you alert and safe while in or near the water because a shark is the last thing you may want to come into contact with!

1. Wearing Brightly Colored Clothes

Sharks are long known to be easily attracted to bright colors. In their own thinking capacities, they relate brighter things to their meals. In the same way, pieces of jewelry and reflective or sparkly attire are discouraged because they also create an attraction to sharks. If you want to keep away from sharks, avoid bright colors and shiny attire when in the water.

2. Water Splashing

It has been long known by experts like scientists, the marines, and other groups that swimmers should avoid excessive splashing in the water while paddling, surfing, or skiing. The idea is to avoid potentially alerting sharks on your location because they are very attracted to large, and loud, splashes of water. Water splashing tells the shark that there is possibly the presence of an injured creature struggling in the water. This makes them believe that it is an easy catch for a meal–and they would be right.

3. Spearfishing

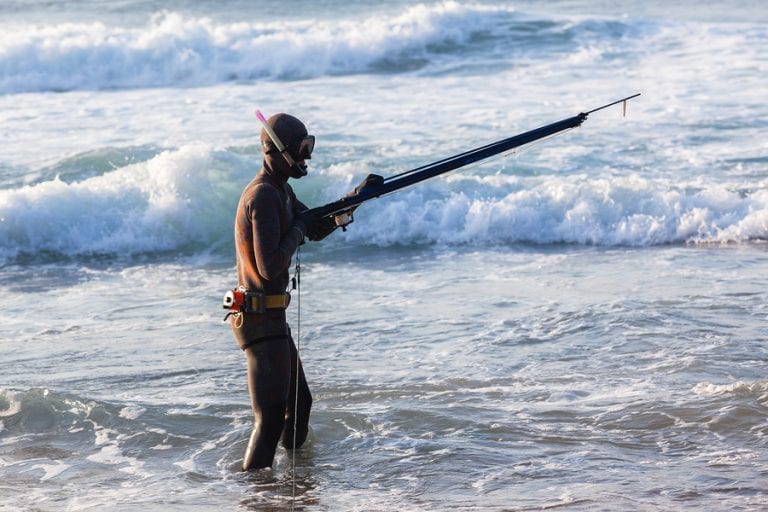
When you are spearfishing, there are vibrations that result from the gun going off. Or, perhaps the vibrations in the water are an indicator of a dying fish struggling on the line, especially when it is a big one. Sharks are quite intelligent and they are known to circle and wait for these vibrations to decide when the right time for an attack is. Most people tend to think that blood attracts sharks but experts report that vibrations such as these actually call the shark’s attention much more than blood does. For this reason, vibrations are therefore amongst the five things that attract sharks.

4. Seals and Sea Birds

It would be obvious to say that sharks are attracted to places where they suspect they will be able to catch their next meal. Sea lions, seals, and sea birds are among the water predators which alert sharks on the presence of dead or nearly dead animals. They are therefore faster at moving to such places than staying lazily where there are a limited number of birds and sea animals.

5. The Smell of Blood

Sharks are not attracted to the sight of blood as many people think, but they do have a great ability to smell the blood from far away. They are attracted to blood coming from dead fish, a person bleeding in the water, and even from ladies who are experiencing their monthly periods. They are known to react immediately and forcefully to the smell and they will continue to move faster in the direction it smells from until it finds its target. According to reports from the experts, a shark will actually swim faster when it smells blood than when it is in danger!

How to Choose a Spear Gun

Whether you’re a beginner or veteran when it comes to water sporting activities, you should know that choosing the right equipment has always been vital. Whether you’re paddling, skating, or skimboarding, you’ll want to have the best equipment for the activity. Today I’ll be showing you the various things to look for when choosing a spear gun to purchase. Let’s see what you’ll need to keep an eye on before your purchase.

The Type of Gun

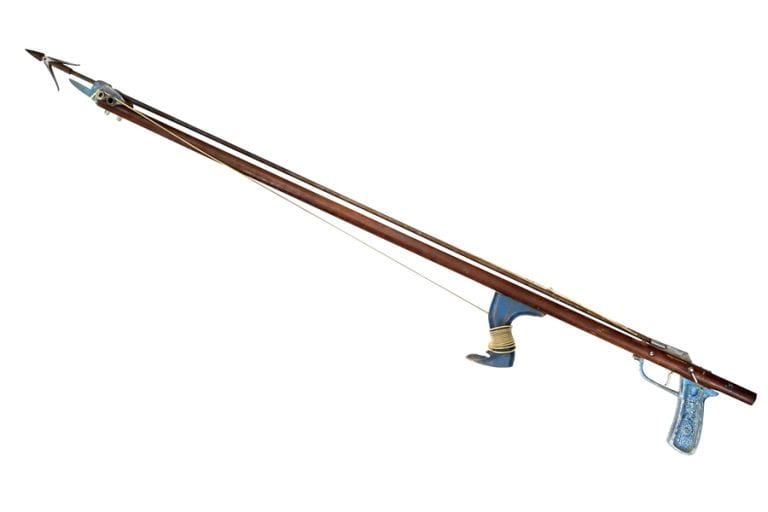
There are many types of spearguns, each with their own niches and specialties. These types range from rollers, (the more traditional) band-powered, and pneumatic. Each of these guns has advantages and disadvantages, depending on the type of fishing you’ll be doing. The best thing you could do is your due diligence in deciding which gun is right for you.

The Speargun Length

When it comes to how to choose a spear gun, you’ll notice the many lengths to choose from. This ranges from the size and type of fish you’re hunting to the location. For instance, if you are going to fish in caves or places with low visibility, you might want to choose a spear gun measuring from 50cm to about 75cm. If your hunting grounds are the open oceans, lakes, or beaches, a length of 165cm to about 170cm is best for larger open-water fish.

Speargun Shaft Tip

Of course, you don’t want to forget one of the most crucial parts of a spear gun when it comes to choosing one. You must remember the importance of a shaft tip. The best shaft tips which are floppers and slip tips. The flopper shaft is best because it deploys a hinged barb after the shaft passes through the fish. On the other hand, a slip tip is used as a detachable element from the gun after it has penetrated the fish and remains attached to the shaft via a wire or spectra. If you are planning to fish in the reefs, floppers are highly encouraged; however, for blue water areas where fish are more delicate, use a slip tip shaft.

The Speargun Bands

Another thing to consider, aside from the tip and length of the shaft, is the speargun bands. The most vital aspects of the bands are their diameter and stretching capabilities. Shorter bands demand more power and energy, but their advantages are that they are more powerful when shooting fish. Something else to keep in mind is the band’s durability. Some people will purchase spear guns without researching band durability, and over time end up paying more in replacement parts than the gun itself. Make sure that the gun’s bands can stretch widely and that the rubber has been reinforced.

How Do You Soda Blast a Swimming Pool?

Most people find it difficult when it comes to choosing an eco-friendly means of keeping their surroundings clean. If you have a swimming pool, then you might have suffered the thought of having to give it a good deep cleaning. That’s when it hit you – soda blasting. Maybe you heard a neighbor talking about it, or you saw something about it online. Still, the dreading question is, how do you soda blast a swimming pool? Let’s find out!

Soda blasting is the world celebrated environmental friendly method for cleaning a swimming pool. If you want to avoid using hazardous chemicals or unsafe techniques, then this is the best choice you have.

What is Soda Blasting?

Soda blasting is a cleaning process that involves the use of baking soda. This baking soda is contained in a specially designed cleaning-tailored hopper which acts as a media that blasts the baking soda mixed with water from a water pressure nozzle at an estimated 400 pounds per square inch of force. The idea is to make sure that you are using an eco-friendly method and baking soda and water don’t get much safer. If you want to clean your pool in a professional way through soda blasting, there are a few steps that you need to know to equip yourself with the right knowledge. These steps are:

1. Turn Off Your Swimming Pool Gadgets

Before soda blasting your pool, turn off your gadgets such as pumps, filters, vacuums, etc. for safety purposes and also to protect them from any corrosive effects.

2. Lower the Water Level in the Swimming Pool

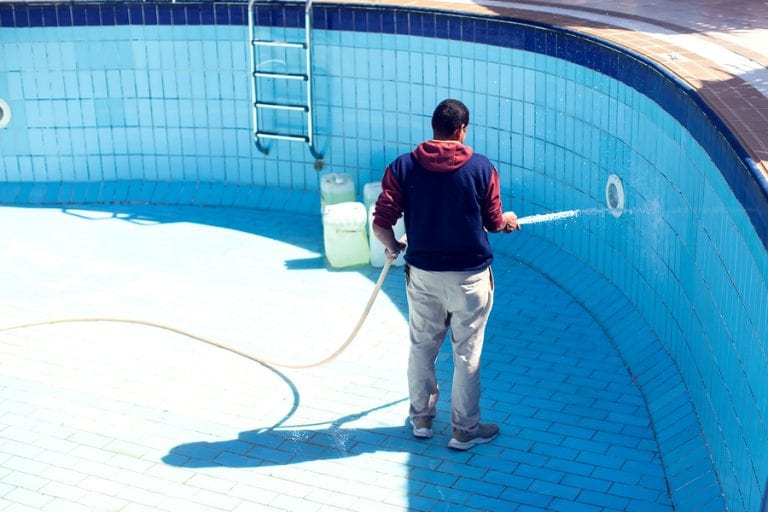
Effectiveness from soda blasting is achieved when the water is lowered to the bottom of the pool, exposing the most surface as possible for cleaning. When the water is lowered, you can use the baking soda to clean the tiles which are contaminated. It also allows you to wash the pool deck. Afterward, be sure to clear the blasting debris out of the pool.

3. Apply Protectant

While most people soda blast their pools and leave them to dry before refilling, the addition of a pool protectant is vital for the prevention of calcium build up. A large number of calcium deposits on your pool’s textured or tiled surfaces will prevent the pool from showing off its shiny glimmering properties as sunlight penetrates the surface of the water. After a good cleaning and applying a protectant to the surface, you can either wait for some time or immediately fill your pool with fresh clean water.

How Long Does Soda Blasting Take?

Most people usually do not take enough time to make sure their pools are thoroughly cleaned. This has led to issues with the growth of water plants or white mold in pools that are supposedly cleaned routinely. Soda blasting is a process that takes approximately 2 to 3 hours to completely remove the nasty pool plants and other surface contaminants. On a side note, depending on the age and type of material used to build your pool, it is recommended that you select an appropriate blasting media to prevent pool etching effects, removal of texture or tiles, and any other damage that may result. If you aren’t sure about this method for cleaning it is advisable that you consult a pool professional to verify the best cleaning method for your specific situation.

What Are the Benefits of Soda Blasting?

To many people, soda blasting looks like a cheap way to clean the pool, or just an eco-friendly method that may or may not even work. Comparing it with other methods, soda blasting benefits it’s users by cleaning up the waterline, removing and preventing calcium build-up, plus giving a thorough cleaning of pool tiles without corrosion.

What’s the Cost Range for Soda Blasting?

The cost of soda blasting will vary based on the size and type of pool you have, the equipment you rent/own, and whether you need to consult a cleaning company to handle the task for you. Most pool maintenance companies can provide a basic soda blasting cleaning service ranging from $200 to $500 depending on the size of your pool. For those with larger pools who want an excellent thorough cleaning with added protectant, the price might range from $2000 to $5000 for the complete service.

How to Do a 360 on a Kneeboard

Most people who participate in water sports have come across the tricks that have helped them become more skilled than they’d ever imagined. You have probably seen tricks for skating, paddling, skimboarding and jet skiing. Today you will have the pleasure of understanding how to do a 360 on a kneeboard. The first and most important thing is to be able to ride comfortably while keeping your body weight and balance constant. Here is how to do a 360 on a kneeboard.

1. Extend Your Arms

After you have learned to ride your board carefully while balancing in water, you are well on your way to doing a 360 on a kneeboard. The trick starts with two possibilities: having the rope on the outside, or inside of your body. Whatever position you choose, the next thing to do is to extend your arms. Opening your arms helps you maintain balance while holding the rope and rotating. It also discourages the friction that is brought on by air resistance.

2. Press Your Knees Firmly Against the Paddleboard

With the board strap sitting on the top of your thighs tightly and comfortably, you also need to make sure your knees are firmly pressed against the paddleboard. Whether you like to follow the wrapped approach or any other method, the position of your knees and thighs become vital when learning how to do a 360 on a kneeboard. The strap holds your thighs tight to make sure you do not stagger or lose balance on the board while keeping your knees on the front side of the paddle helps you to easily break from air resistance as you move forward.

3. Pulling the Handle to Your Hips

When learning how to do a 360 on a kneeboard, the process consists of pulling the handle to your hips by releasing your left handle without letting go of the handle on your back. The best way is to start by pulling the handle to your right hip while your left hand releases it from the back without rotating. Then, using your free left hand to hold the handle behind the back, release your right hand to quickly grab the line again.

4. Practice at the Recommended Speed

The best way to practice doing a 360 on a kneeboard is to go at an even pace. When you practice at a high speed to start, you will most likely panic and end up losing your balance. When going at too low a speed, you risk sinking. The idea is to start at a speed of about 5KM per hour and increase the speed once you have the hang of it.

To stay balanced, stay focused on the horizon. This will help you avoid panicking when trying out a higher speed. When you grab the handle with your right hand, cut toward the angle and lean forward. Then just “pop” before releasing the rope again.

How to Make a Wooden Spear Gun

If you check out the lists of things water lovers love, you will definitely see spearfishing among them. The best part of spearfishing is not only swimming with quality carbon fins but also making a gun that is custom to you. Today I’ll break down how to make a wooden spear gun. Most spear gun producers will give you the materials either individually, or in a kit that comes with trigger pieces. If you’re looking to make an excellent wooden spear gun, here are some of the materials you should have on hand:

African Teak Wood

There are many types of teak woods out there, but if you’re looking for the best, pick the African teak wood. This wood has an oily texture and some rubber properties, making it resistant to adverse weather conditions. The other benefit of African tweak wood is that it doesn’t absorb water; it has a density that makes it float in water (but isn’t as “rare” as a buoy, for example). It is also very stable. If you want to make the best harpoon, you may want to have about three to four pieces of teak wood to help you create the gun that accommodates your needs.

Epoxy Resin

Now, some people make wonderful spear guns but fail to apply a durable adhesive to their parts. Experts recommend Epoxy resin as the best glue to hold your speargun in position. Other adhesives do soften in water and simply don’t have the elasticity abilities that resin has, making it the most used glue when making a wooden spear gun. You don’t want your speargun to soften, break or lose elasticity in the water.

A Carpenter Plane

The other thing to decide on is the shape you desire. Most people don’t keep this in mind, leading them to make wooden spearguns that break down over time due to lack of symmetry. On the other hand, the process of making a wooden speargun doesn’t have to take a lot of time! Speaking of time, a carpenter plane will help you come up with the correct shape in about 30 minutes. The main thing to remember is to keep your cuts wide in order to leave room for error.

A Router

When making your wooden speargun, the harpoon requires the most attention because it is where the arrow is inserted. Generally speaking, you need a router to mill the groove or a rail for the harpoon. The best tool for this is a router. The router also comes in handy when making the shaft for the trigger particulars. The idea here is to make sure you have come up with a spear gun that has an accurate shaft for the trigger and a precisely crafted harpoon. Lastly, you should keep an angle grinder in your arsenal for shaping perfect angles for your gun. This will ensure your gun’s durability and symmetry.

What Causes White Mold in Swimming Pools?

A clean swimming pool can be the best place to relax. Sadly, there are stubborn molds that can make the cleaning process an exhausting process. The dreadful question that most pool owners ask is, what causes white molds in swimming pools? Let’s find out what reason might be for these nasty growths. White water molds have the following characteristics:

They Grow Naturally

Most pool owners think that chemicals like chlorine support the growth of white water molds, but studies show that these plants grow on their own, without the support of foreign chemicals. Additionally, white molds are fungal, biological, and alive, meaning they thrive in water.

They Are Resistant to Pool Treatments

You might be surprised to see white water molds in your pool even after applying treatments. White molds are resistant to most pool cleaning solutions because their structure is hard for chemicals and compounds to penetrate. The reason they grow in pools is that they can easily die easier from the rays of the hot sun than they do from pool water and its additives.

How Do You Clean White Mold in Swimming Pools?

As the saying goes, “prevention is better than treatment.” Preventing the growth of white molds in your pool is much less expensive than treating a pool full of mold. With that being said, there are a few steps to follow to prevent their growth:

Clean the Pool on a Weekly Basis

Some pool owners use strong chemicals and methods like soda or sandblasting once in a blue moon. However, in order to deal with stubborn white water molds in pools, the right process demands cleaning your pool at least once a week. This makes sure you’ve thoroughly cleaned the rails and ladder steps, which can get grimy fast. It also exposes molds to the direct sunlight, where they will perish.

Open the Pool Lid for a Few Hours a Day

The sun’s rays are extremely effective in preventing the growth of white water molds. Opening the swimming pool lid to allow for the sun to penetrate kills molds that hide in the shadows of the pool. The recommendation is to remove the lid for about 2 hours in strong sunlight, and 3 hours if the sky is more overcast.

Apply Oxidizing Agents

Although white water molds are resistant to chemicals, they survive in the presence of oxygen. When oxidizing agents are applied, they react with the oxygen in water to reduce its supply. Once the oxygen in the pool is interfered with, white molds growth reduces and might be completely diminished over time. Oxidizing agents are also great for treating pool infiltrations.

Wash Pool Accessories Regularly

White molds thrive in mildewed areas. To discourage their growth and distribution, wash pool floats, solar blankets and pool toys regularly. Keep in mind to also maintain water levels during rainy seasons.

What is Skimboarding?

0

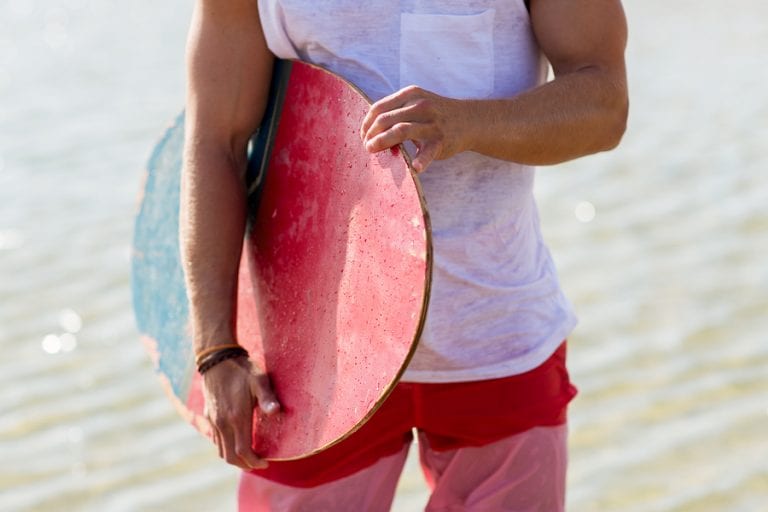
There are many different ways to become an expert in skating, surfing, and snowboarding. But there is one, ultra-effective method that you may not be aware of. In this article, you’ll learn a bit about skimboarding.

What is Skimboarding?

Skimboarding, in simple terms, is a tool for practicing any sort of board sport. It helps you understand the physics and mechanics behind you and your board’s rotations.

When it comes to skimboarding, there are few aspects of a skimboard that you should understand in order to have a crystal clear feel for skimboarding. First, a skimboard is much different from its counterparts in skating, snowboarding, and surfing. A true skimboard is thicker, longer, and wider compared to other boards for skating, surfing, and snowboarding.

The other difference to note is a skimboard lacks the fins of a surfboard or snowboard, making it on average more difficult to control. The board is less stable, making some of the tricks made simple by fins close to impossible. For a skimboard, a rider stands at the shore, about 6-20 feet away from where the waters are crashing in, ready to pounce.

How Do You Skimboard?

Skimboarding is a trick of its own considering how completely different it is from other waterboarding activities. But if you want to learn it, you’ll need to know the basics.

In the event that you spot a wave that you want to catch, run towards the wave and as soon as you get to the end of the shore, drop your skimboard and jump on it quickly. Remain stable while preparing to grab the wave. Once stable, you can catch oncoming waves to help you ride back to the shore.

How Do You Perfect Your Skimboarding Skills?

In order to be an expert in anything, you must practice, practice, and—you guessed it—practice! The best place to help you build your skimboarding skills is a flat sand beach with a thin amount of water. When you are skimboarding without water waves, you skim parallel to the shoreline while pulling off your tricks. This is what is called flatland skimboarding. Most experts recommend areas without stones, weeds or driftwoods, and with shallow streams towards the beach or ocean.